In this short article, we will get you up to speed with how to setup a Terraform Development Environment on Amazon Web Services (AWS). Allowing you to automate the creation of future AWS infrastructure.
What is Terraform?
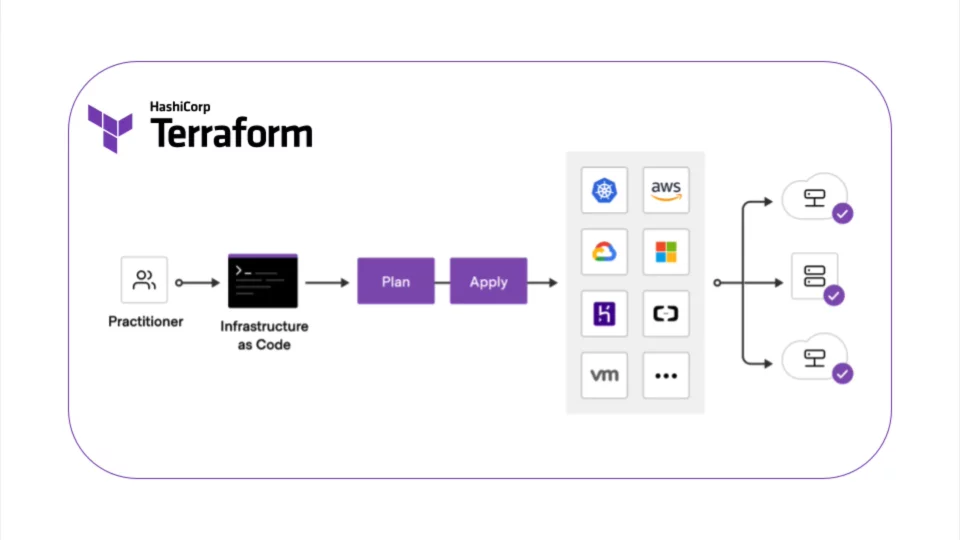
Terraform as defined by HashiCorp the creators, “is an infrastructure as code tool that lets you define both cloud and on-prem resources in human-readable configuration files that you can version, reuse, and share.”. Essentially allowing you to automate the creation of infrastructure and share the state of the infrastructure.
What is a Terraform Development Environment?
A terraform development environment is a workspace for software development that allows developers to have an interface with the tools needed to create and modify code, along with testing, and building code so that it may be deployed.
Prerequisites:
1. An AWS account
2. IAM permissions that allow programming access (access key & secret access key)
Local steps:
1. Install Terraform:
To install Terraform on your local machine go to this URL and get the right package for your operating system.
Verify your terraform version using the $ terraform — version command.
2. Install AWS-CLI
To install AWS-CLI, refer to this user guide.
Creating the Terraform Development Environment:
You will want to create a file called ~.tfvars this will contain the variables you will use to specify what is to be made by using Terraform.
In this case, we will start with creating an S3 bucket to store our state file.
tfvars file:
# Global Vars
d_environment = "staging"
d_region = "us-east-1"
# S3
d_bucket_acl = "private"
d_bucket_name = "tfstate"
d_force_destroy_bucket = false
d_versioning = true

S3 module:
module "s3" {
  source = "location of the S3 resource creation file"
  bucket_acl = var.d_bucket_acl
  name = var.d_bucket_name
  versioning = var.d_versioning
  force_destroy_bucket = var.d_force_destroy_bucket
  tags = {
    test1 = "C"
    test2 = "T"
  }
}

S3 resource:
terraform {
  required_version = ">= 0.14.5"
  required_providers {
    aws = {
      source = "hashicorp/aws"
      version = "3.32.0"
    }
    kubernetes = {
      source = "hashicorp/kubernetes"
      version = "2.0.2"
    }
  }
}
resource "aws_s3_bucket" "s3_bucket" {
  acl           = contains(local.acl_list, var.bucket_acl) ? var.bucket_acl : "ACL_ERROR"
  bucket        = var.name
  force_destroy = var.force_destroy_bucket
  tags          = merge(var.tags, local.default_tags)

  versioning {
    enabled = var.versioning
  }

}
After you have these set up in the same directory make a variables file that prototypes each variable and gives them a default value. First, run the command $ terraform init you should see the environment initialize, secondly run the command $ terraform plan to see what will be created, and finally run the command $ terraform apply in order to create the S3 bucket.
Conclusion:
With this S3 bucket created you can now change your backend from being local to existing on the S3 bucket. Meaning your Terraform state file will be accessible by anyone else who has access to the AWS project letting other developers create, then modify, and test code quickly while maintaining a record of what has been built in AWS. In this blog, we covered on how to setup a Terraform Development Environment on Amazon Web Services (AWS). You can checkout more of our blogs here